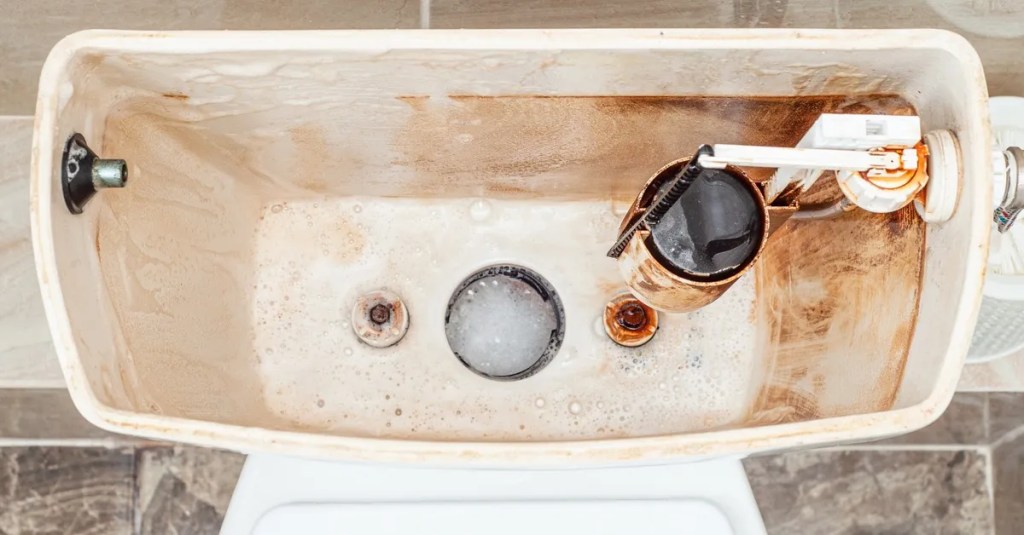
Cleaning the cistern – hand on heart: very few people have this on their radar. Yet you should definitely devote your time to this object, because ignoring it is a big mistake. An inadequately maintained cistern can not only lead to limescale deposits, but also to problems with the toilet flushing or high water bills.
Why you should clean the toilet cistern regularly
The limescale content of water varies from region to region in Germany. The more calcareous the water is where you live, the more deposits you will notice in the kitchen and bathroom. In addition to the taps, the dishwasher and the pipes, the toilet cistern is also not spared from the unsightly white deposits.
Although the problem has less impact here than with a calcified tap, the deposits provide bacteria with an ideal breeding ground. To prevent this, the cistern should be cleaned at least every few months – from top to bottom.
Various problems with the flush, such as constantly running water or too little water in the cistern, can also be linked to limescale deposits and can be remedied by cleaning.
You may also be interested in these articles:
Cleaning the cistern: 8 tips and household remedies
In this article, you can find out which household remedies are suitable for cleaning the cistern and the best way to do it.
Choice of cleaning agent
Before you start, you should decide on a cleaning agent. To protect the environment and, above all, yourself, you should use household products. This is because the cleaning agent flows into the drain via the cistern and thus enters the environment, where chemical cleaning agents have absolutely no place.
If you clean the cistern regularly or only find minor limescale deposits, you can use vinegar essence for your project.
For medium soiling, citric acid is the cleaning agent of choice.
If you have never cleaned the cistern before or have heavy limescale deposits, it is best to use hydrochloric acid for stubborn stains.
Opening the cistern
Concealed cistern
The so-called concealed cisterns are recessed into the wall and are somewhat more difficult to open. First, carefully slide the cover upwards and remove it. Unscrew the partition wall behind it with a Phillips screwdriver to access the cistern. After cleaning, first replace the partition and then the cover.
Free-standing cistern
In this case, the lid is attached with a clip on the right and left. Lift the lid up and release the clip. After cleaning, replace the lid and press it on lightly.
If necessary, put on rubber gloves and always proceed carefully and according to the following step-by-step instructions. It is best to turn off the water supply during cleaning.
Remove the mechanical parts
Unhook the flush control arm so that you can pull up the drain plug underneath. The water will drain out of the sink and you can check and clean all the parts at your leisure.
Before the water drains, the so-called float is removed. It is located on the water in the cistern and detects the water level.
Once the operating arm and the float have been removed, take off the inlet valve, which is attached to the cistern with a nut.
Check the seals
There is a seal at the bottom of the cistern and at the top inlet. Check them for limescale deposits, dirt, porous areas or other damage and replace them if necessary.
Soak individual parts
Soak all the individual parts in a bucket of water and your chosen cleaning agent so that the limescale comes off. It is best to take the opportunity to check the parts for possible damage.
Soaking the cistern
Replace the cleaned seal so that the cistern is sealed. Then pour a mixture of water and the cleaning agent into the cistern and leave it to work for a few hours.

Cleaning
After the soaking time, the cistern and all individual parts are thoroughly cleaned with a brush.
Assembly and inspection
After cleaning, all parts are reassembled in the correct order. First the inlet valve, then the float and finally the operating arm. Check everything again and put the lid on the cistern before turning the water supply back on in the last step.
Regular cleaning and inspection of the cistern is time-consuming but worthwhile. You can prevent high repair and water costs and extend the service life of the individual parts. How long has it been since your cistern was last thoroughly cleaned?
Sources: house, obi
